SUMMER FOOD FEAST
Summer is an opportune time to play around with colorful produce and refreshing combinations! Share your creations with family and friends while basking in the warm sun and celebrate the beauty of summer.
Green Mango Slaw w/ Toasted Pepita Dressing
Inspired by a friend residing in El Salvador, this is my rendition of one of their popular snacks – green mango and alguashte (seasoning made from ground pepitas). Mine is more of a salad than a snack :). I julienned some green mangos, bell peppers, broccoli stems, carrots, heirloom beets, added some raw broccoli crowns then tossed with a purée of toasted spiced pepitas, lime, honey, and brown rice vinegar. While I’ve not yet had the opportunity to try the real Salvadorian snack, this dish was a winner and I look forward to experimenting more with pepitas.

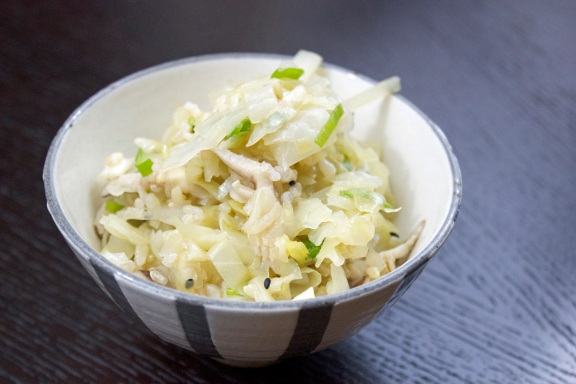
Simple Brown Rice w/ Shiitake and Cabbage
Rice is a staple in Asia, many times eaten as the entrée, so naturally my favorite means of enjoying rice is through honoring IT through simplicity. Brown rice is nutty by nature with a fully body whereby a little oomph of seasoning and/or toppings can go a long way. I sautéed green cabbage and shiitake in coconut oil infused with scallions, garlic, and ginger. Finish off with a handful of black sesame seeds and an easy, tasty light summer dinner is served.
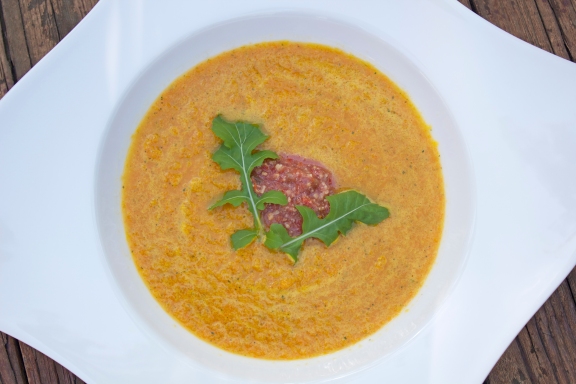
Carrot Ginger Cantaloupe Soup Topped w/ Curried Cherry Tomato Chutney
Soup in the summer can be a sure-fire treat if you make ‘refreshing’ a top priority. Added bonus with most summer soups is that they can be enjoyed hot or cold. The combination of sweetness from the carrots and cantaloupe paired with a spiced up chutney was just what the doctor ordered on this particular hot, humid evening. Also, instead of serving this soup with a side of crackers or bread, I pulled some crunchy arugula leaves. Not quite 1:1 carb-substitution but refreshing? Yes :).
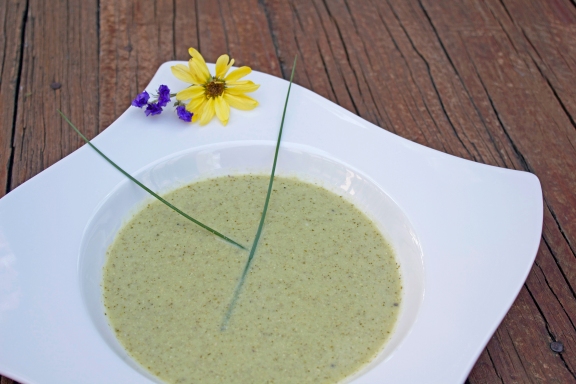
Leek Pistacho Mushroom Soup
A visit to the mushroom stand at our local farmers market is a must on Saturdays. The quality of freshness, texture, and earthiness in these locally grown mushrooms beats anything we find at the local grocer. And while grilling or making salads is a great way to enjoy mushrooms, using them as a base for a soup brings out a whole new level of appreciation for these little woody wonders. Experiment with different varieties and take time to notice the way in which each kind illuminates your senses.
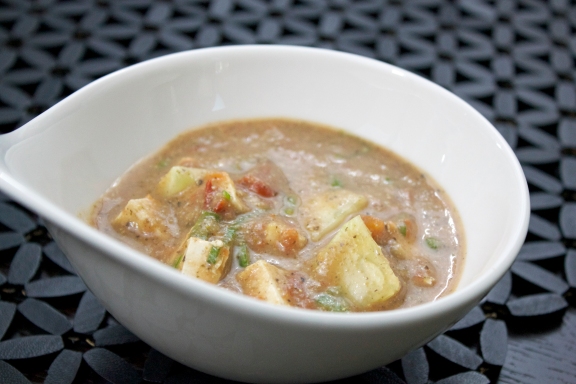
Tomato Gazpacho w/ Cashew Purée
It’s true – I’m obsessed with gazpachos this summer. I’ve made a number of tomato based gazpachos over the past few weeks where I used mangos, tofu or avocados to balance out the acidity and to thicken the consistency. This time around, I pulsed some cashews! You really don’t taste cashews at the forefront of your tastebuds but they do a great job of complementing tomatoes. Highly recommend!
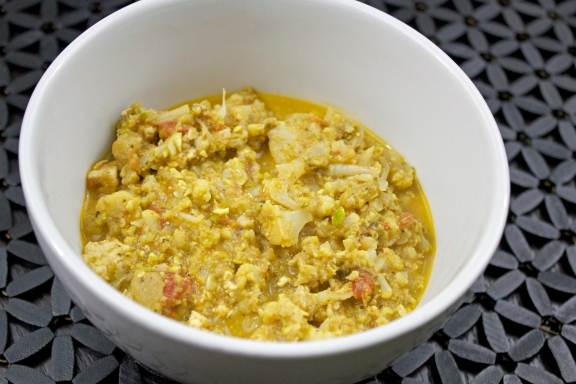
Cauliflower Mung Bean Coconut Curry
If you need a mid-week pick-me-up in a comforting feel-good-and-light kinda way, practice yoga ;)… then make this. Sauté some veggies with your favorite curry mixture/paste and simmer with coconut milk and water or vegetable broth. Done. Delicious. Soul = happy.